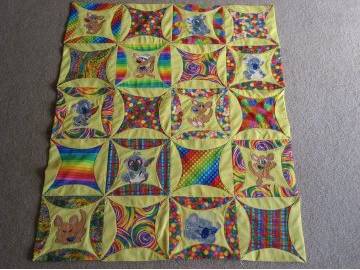
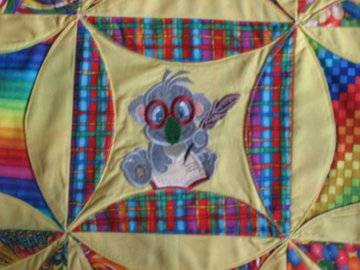
Lisa’s method of an easy orange peel quilt design. Featuring the “Outback Mates Collection” A free embroidery designs sample of this collection is available in our download area.
 |
 |
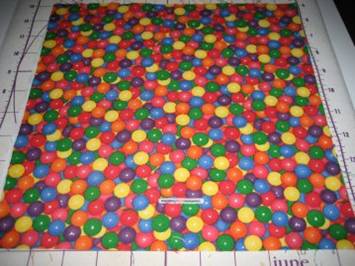
1) To Begin cut 20 11” squares out of solid fabric. 10 will be used for embroidery. Cut 20 11” squares from your color fabric.
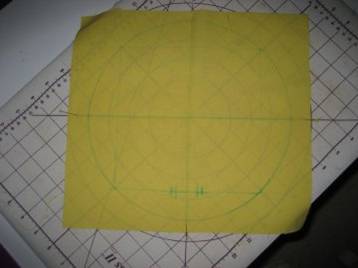
2) To fit a 4×4 design you must have at least a ten inch circle.
3) Use anything you can to mark a 10” circle on the wrong side of the solid fabric. A compass, a template, a 10” plate, I used my Quilters cut and press board that has circles on it.
4) Then mark your center cross hairs of the square to center your embroidery. Then mark 3 1/2 “ from the middle of the square .
5) Mark for your button hole evenly from that bottom line. Yes you will make a button hole on the front of your circle.
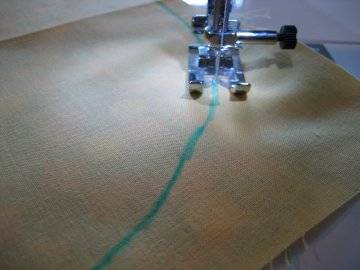
6) Make a large button hole on your mark now. Only on 10 solid squares and on 10 colored squares. These will be the right sides of your blocks. (Shown here on the color fabric.)
 |
7) You will now do your embroidery on the right side of the solid squares being careful to center the embroidery
8) After your embroidery is finished Cut the centers out of your button holes before you sew the pieces together. This is how you will turn your circles. 9) Take one color fabric and one solid fabric and place right sides together. ( there will be 10 with embroidery and button holes on the solid and 10 with button holes on the colored fabric.) |
| 10) Stitch on the 10” circle line.
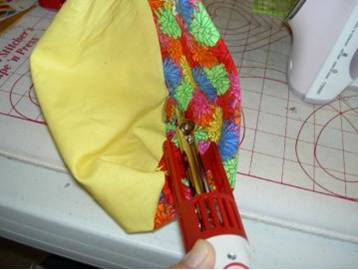
11) Cut around the stitching line and clip curves careful not to cut the stitches. I use pinking shears to cut down on time. 12) Press flat to set the seams. 13) Then turn circle right side out thru the button hole on the right side of the block |
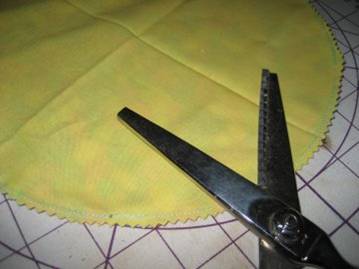 |
Cutting the Circle Quilt Block
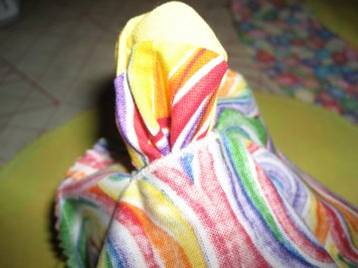
Reversing the Circle Step 1 Reversing the Circle Step 2
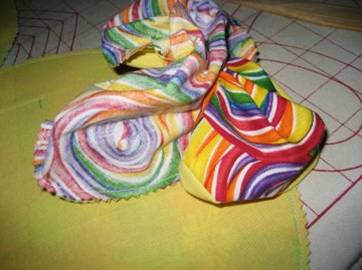
14) If you have a mini iron you can press your seams flat by pulling the center of your fabrics out and putting seams together pressing then do the same to the other side.
15) Press flat.
16) You will mark a 7” square in the center of the circle the corners of the square will touch the outside of the circle. Or you can measure and mark 3.5” from center at the top bottom and both sides. That will make a 7” square. It is okay to fudge a little if needed. That line will be your stitching line.
17) Decide on the order of your block alternating embroidery centers with colored fabric centers.
18) Place your circles wrong sides together matching your sewing lines and sew. (Make sure you open the flap when you sew.)
Ironing The Quilt Block
Kangaroo Embroidery Design
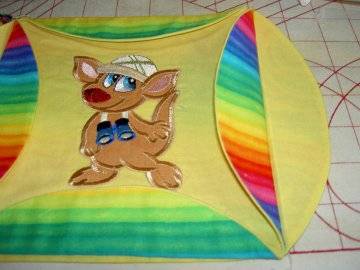
19) Press seams open after sewing.
20) Sew all in rows across.
21) Next you will attach the 1st row to the 2nd and so on until all rows are completed.
Sewing a line of Quilt Blocks
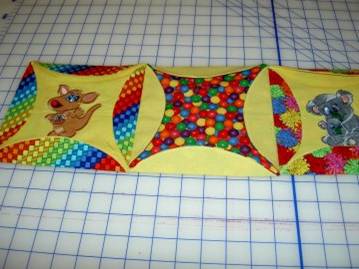
22) After all row are completed. Press all the flaps open and flat.
23) Last is to sew all of your flaps down this is your quilting. And the best part there is no binding the edge is already finished. You may chose to do an appliqué stitch I just did a straight stitch.
Finishing The Quilt Blocks
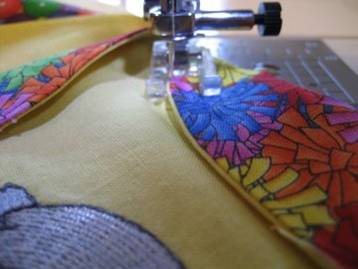
Last of The Quilt Blocks YOUR QUILT IS FINISHED!!!
Created by Lisa J. Reynolds

