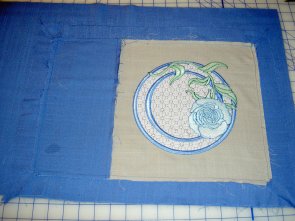
Heirloom Placemats
| Supplies |
Cut 12 1/2 “ squares of the lighter fabric. I used linen in my project. One for each placemat.
Cut 5 1/2” x 11 1/2” rectangle out of the darker fabric. (Left side of placemat.) One for each placemat.
Cut 5 1/2 x 6 1/2” rectangle out of darker fabric. Two for each placemat.
Cut 2” strips of darker fabric for the borders. You will need around 2 strips per placemat, depending on the fabric width.
Instructions
You will need 2 of the 5 1/2 x 6 1/2” rectangles for each placemat.
One will need to be vertical the other horizontal.
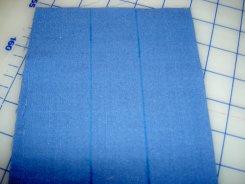
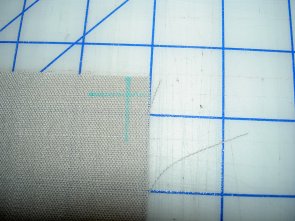
The tall one will need to be marked vertically 2” from each side. (From top to bottom. Picture #1)
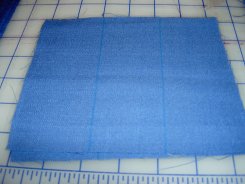
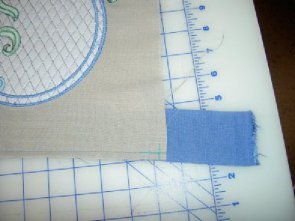
The wide one needs to be marked vertically 2 1/4” from each side. (From top to bottom. Picture #2 )
Turn under the top of each 1/4” two times press under and hem.
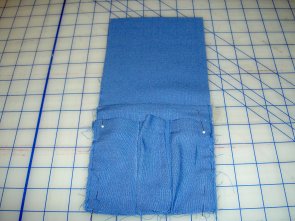
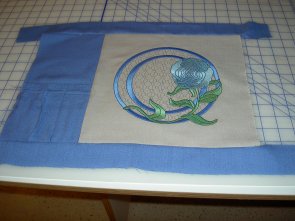
Place the wide short one on top of the tall skinny one lining up one of the two lines on. Example the left line to the left line. (Picture 3)
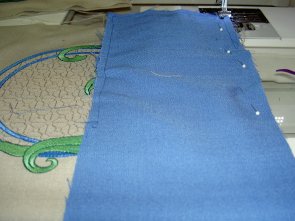
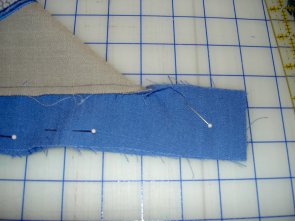
Stitch on that line stopping at the first hem and backstitch. (Picture 4) This is the pocket for the utensils.
Line up the other two lines and do the same. (Picture 5)
Line up outside edges and baste. (Picture 6)
Put this section on the 5 1/2”x 11 1/2” lining up the bottom and the edges and baste. (Picture 7)
Picture #3
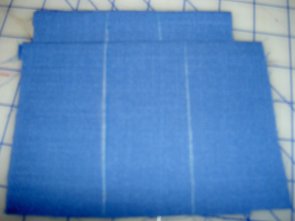
Picture #4
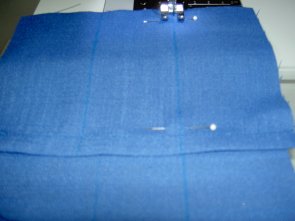
Picture #5
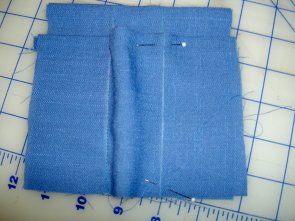
Picture #6
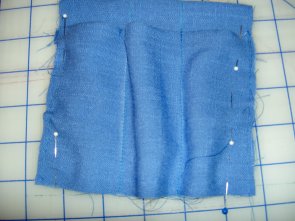
Next get the embroidered 12 1/2” square. Mark the center horizontally and vertically. You will need these lines later and for your embroidery.
Embroider the 12 1/2” square in the center.
Use the center mark to Cut the square down to 11 1/2” square. The reason for cutting the 2nd time is because the square will tend to draw up slightly.
Put the now 11 1/2” square and the left side unit right side together lining up the left side of the square. And stitch (Picture 8 (Block is upside down in picture))
Picture #8
Picture #9
Next mark all placemats 1/4” from each corner. (Picture 9) This marks the start and stop point for the mitered borders.
You must leave more than 2” of the strip past the beginning of the placemat unit. (Picture 10) Start stitching 1/4” seam at the mark you made at the corners. Backstitch then continue. Making sure to stop at the mark at the other end.
Leave more than 2” past the other end. You can’t have too much but you can have too little.
Do this on all four sides moving the other border ends out of the way, not to stitch over them. (Picture 11)
Picture #10
Picture #11
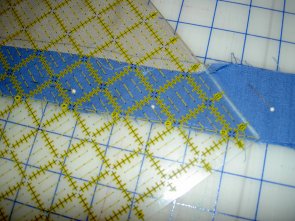
Fold the placemats at the corners lining up the borders. (Picture 12)
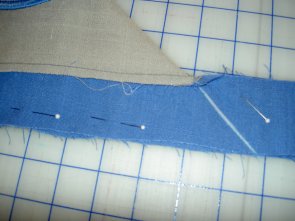
(Picture 13) Line a ruler up with the fold of the placemat and the 45 degree line on the edge of the border fabric and mark the line on the border. (Picture 14)
Stitch that line, making sure to start at that same 1/4” mark at the corner. There should be 3 stitch lines starting at that point.
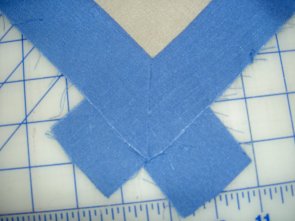
Open the placemat back open and press the seam open. (Picture 15)
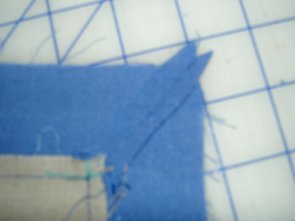
Cut the extra fabric to a 1/4” seam allowance. (Picture 16)
Lay the placemat right sides together with the backing. You can do a lot of measuring but I just lay it on the top and cut out the backing to match the top. I very rarely get the exact measurements correctly. (Picture 17)
Picture #16 Picture #17
Stitch around the outside edge leaving an opening to turn.
Trim the corners. And turn the right side out.
Press. Make sure you press the opening seam allowance under. And top stitch 1/4” from the edge all around the placemat.
YOU ARE DONE WITH THE PLACEMAT. YEA!!!!!!!!!
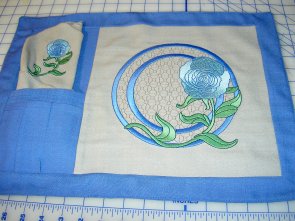
You can make matching napkins by cutting out fabric in a large square, hem or roll the edges. Embroider the corner of the napkin and tuck it in the pocket. You can leave silverware in the individual pockets or not.

