Supplies
The Sunflowers Galore Collection
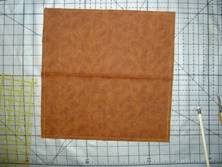
Cut two 10.5 squares of the solid fabric.
Cut four 10.5 squares of printed coordinating fabric.
Cut one 10.5 square of batting.
Instructions
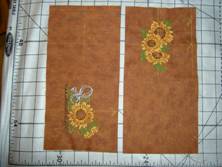
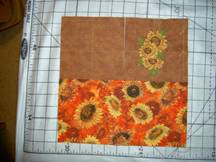
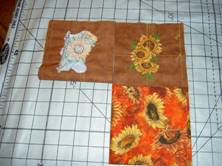
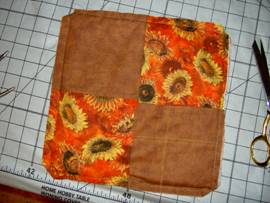
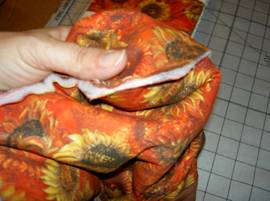
Take the two solid fabric squares fold in half wrong sides together and press making a crease. (Picture #1) The center for the embroideries will be on the right 2.75 inches from the raw edge sides and 2.5” from the folded edge. (Picture 2)(Picture 2 is folded in half . The folded sides are toward each other. Raw sides are out.) Notice the top of the designs are pointing same direction. One the top is at the fold the other the top is toward raw edge. Fold and press two of the printed fabric squares in half. Caring to make sure directional fabric is facing similarly to the direction of embroidery
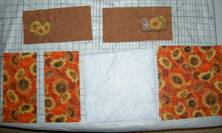
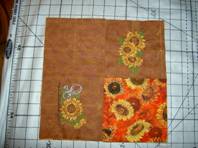
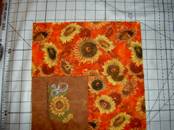
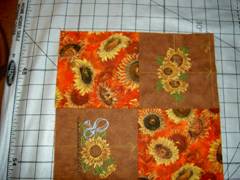
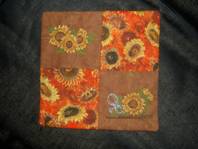
| Picture 3 shows all four folded squares (both print and embroidered), two 10.5 printed squares and one 10.5 batting. Weave the four folded rectangles together. All folded edges should meet in the middle making it a perfect 10.5” square. Pin well. Do not machine baste. Does not work well. I used temporary spray adhesive to hold them in place. Pictures 3-8 show the weaving process. (Not well but you can get the idea!) |
| (Picture #3) (Picture #4) |
| (Picture # 5) | (Picture #6) | (Picture #7) |
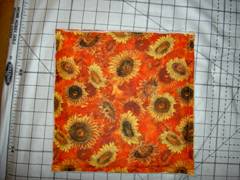
| Now place one of the printed squares right side together. Place batting to the wrong side of that then place right side up the remaining square. It should be stacked from bottom to top: Weaved square right side up, printed square wrong side up, batting, printed square right side up. That should be four separate layers. Don’t forget the bottom layer is actually two layers. Pin all layers together a stitch, using a walking foot, around all four sides. |
| (Picture #8) | (Picture #9) |
 |
 |
Clip corners to lessen the bulk (Picture 10). From the center of the weaved block turn inside out (Picture 11). Pushing out corners, then press.
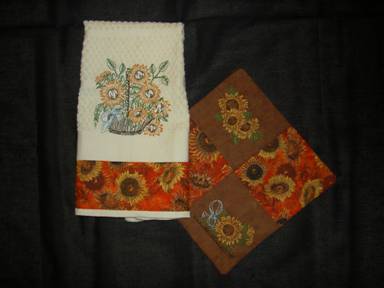
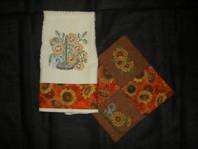
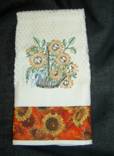
| You are Finished!!!!!!!!!! Take this idea and make it smaller for a pot holder. Or larger for a pillow cover. Add these designs to other kitchen accessories such as the towel show in picture 14. Have fun! Have a blessed sewing day! |
| (picture #12) | (picture #13) | (picture #14) |
 |
 |
 |

